Stocks / Silos
Description
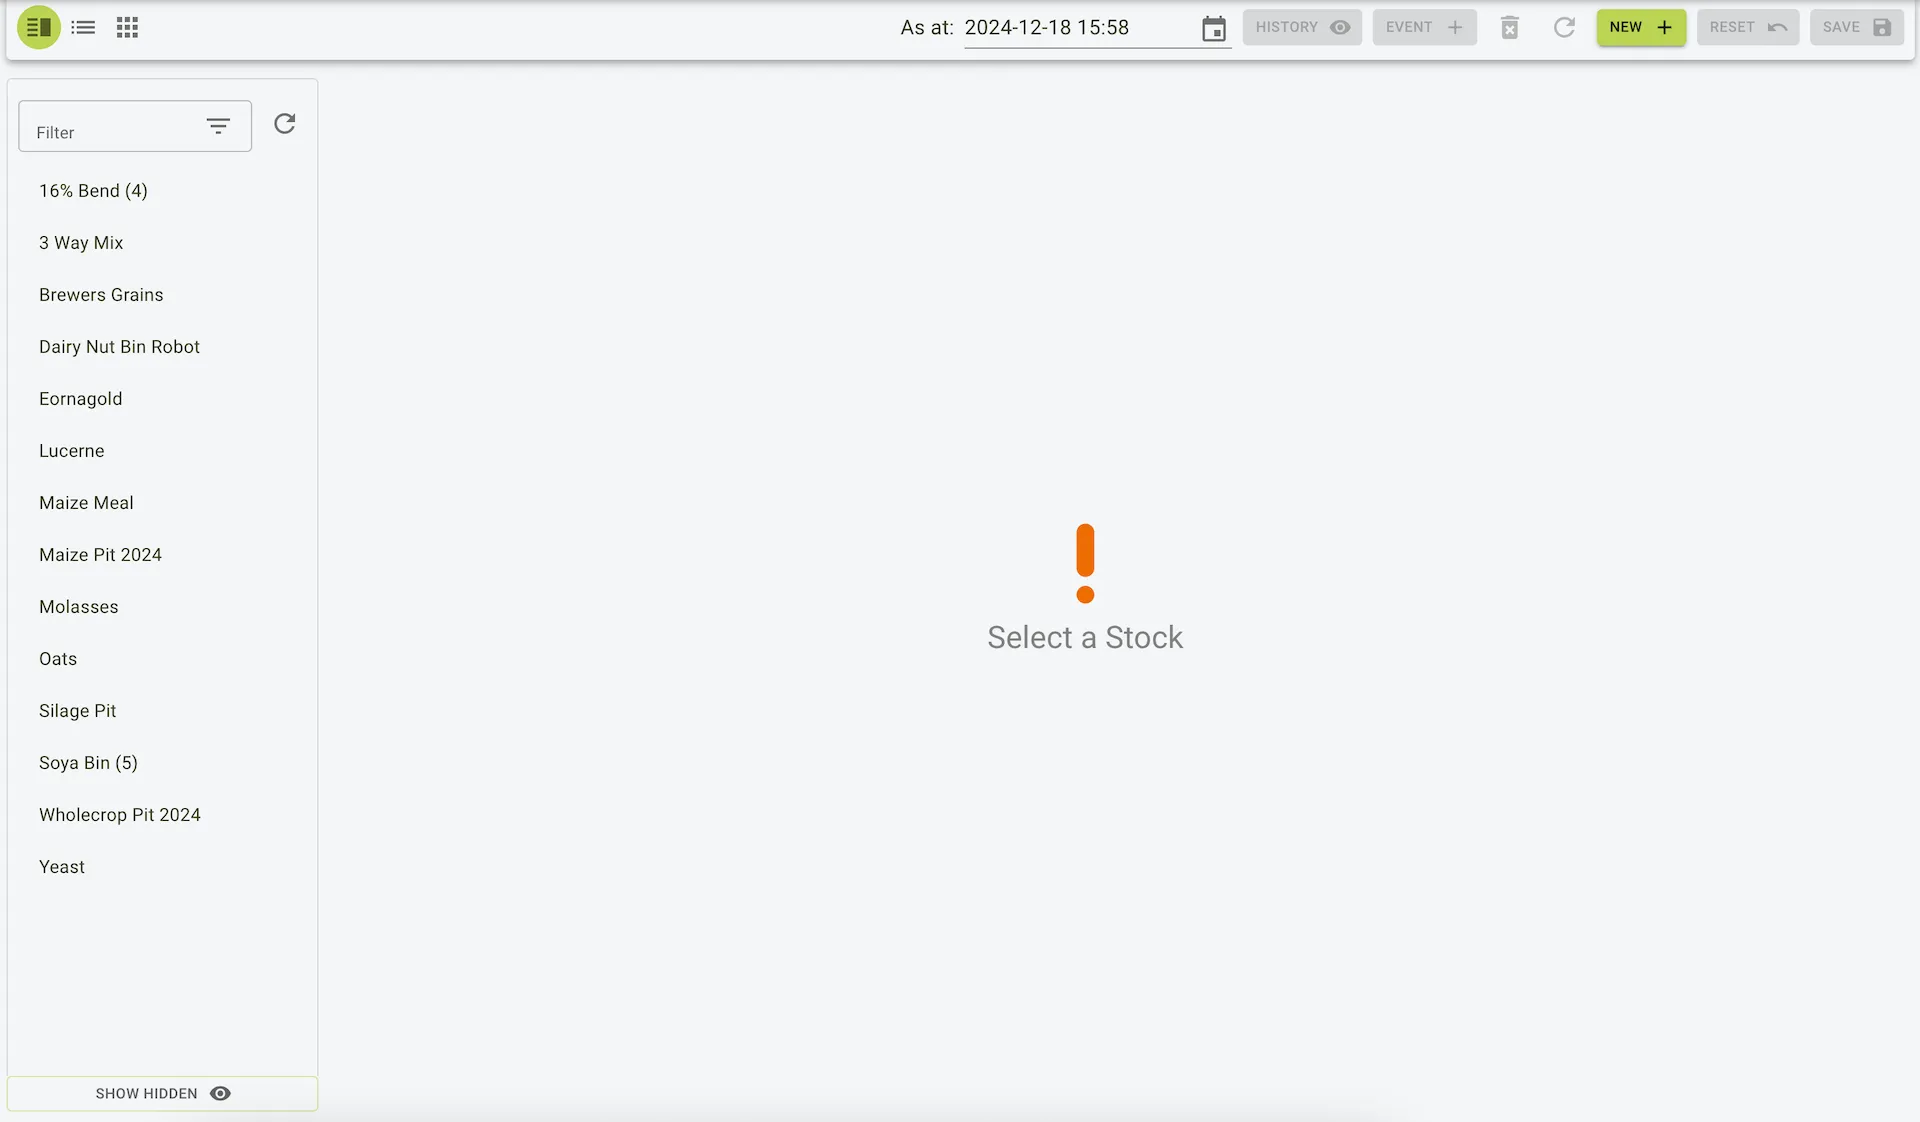
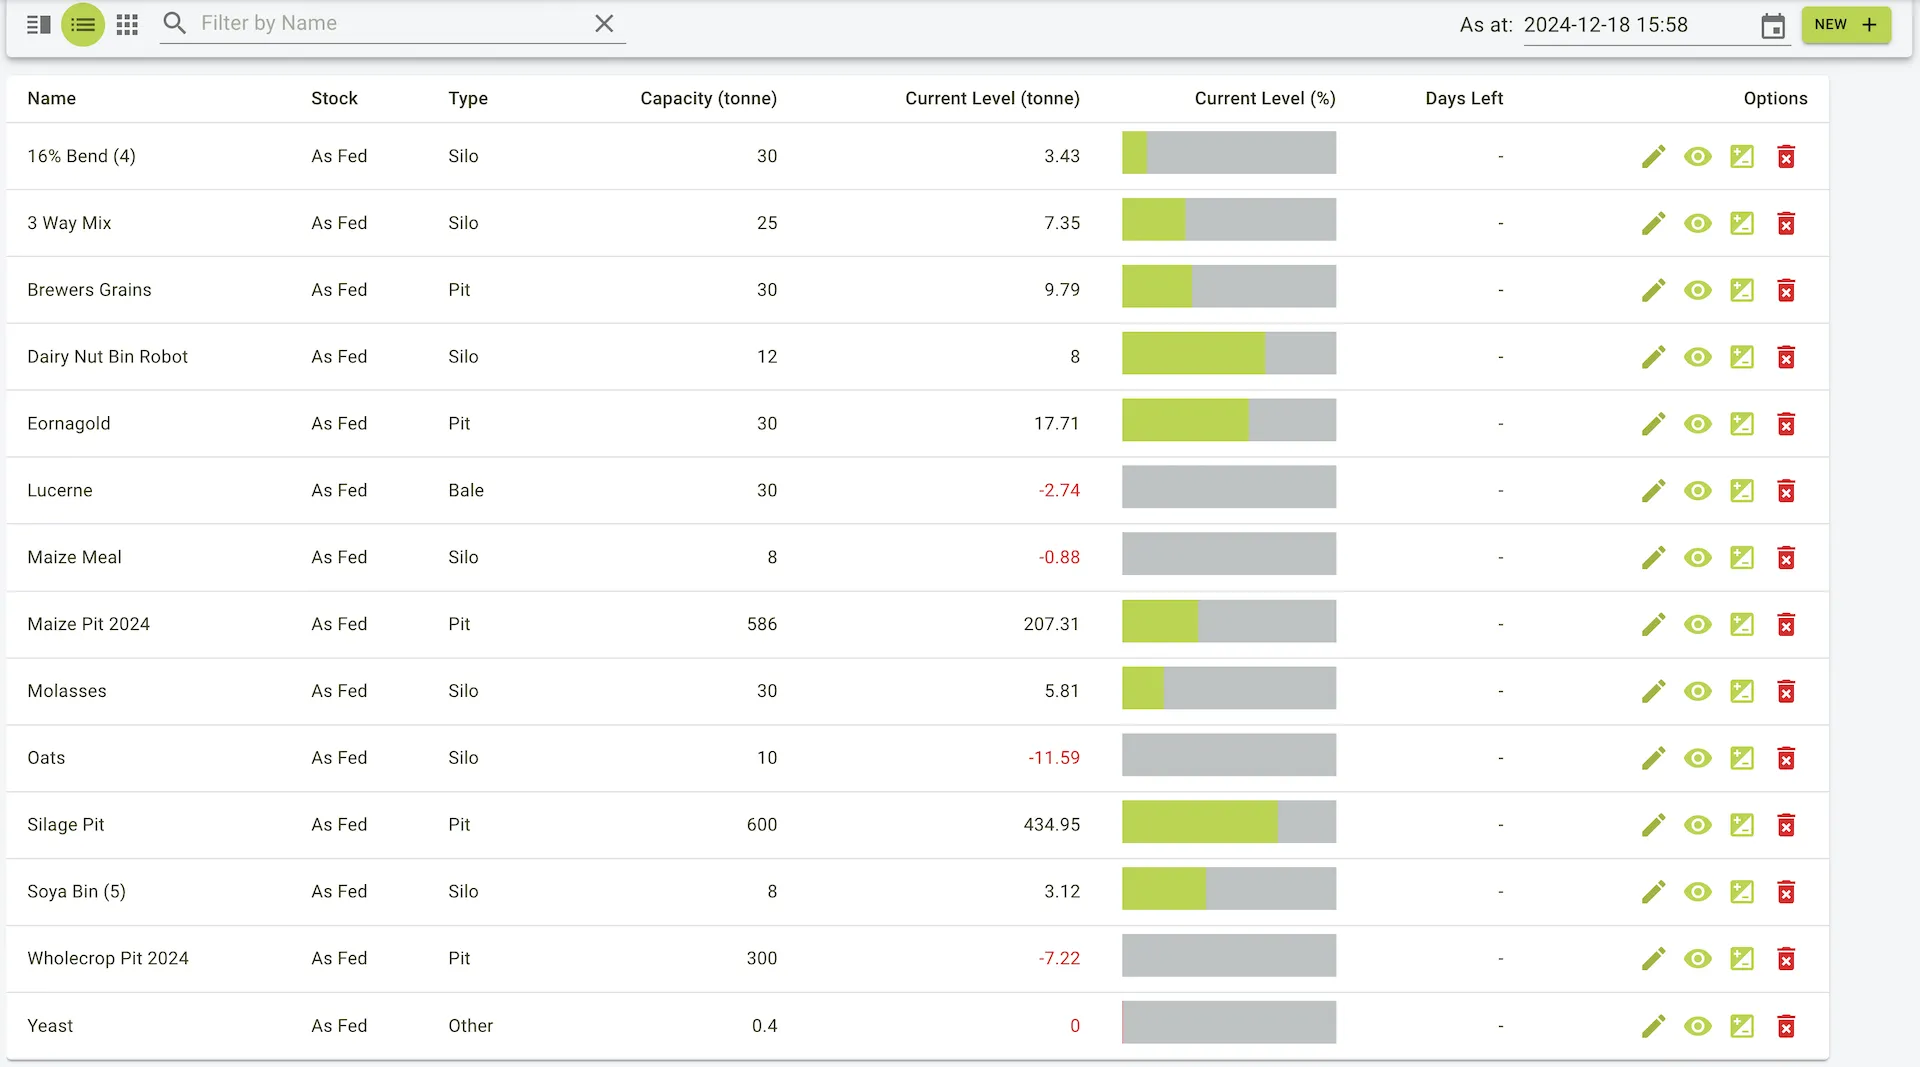
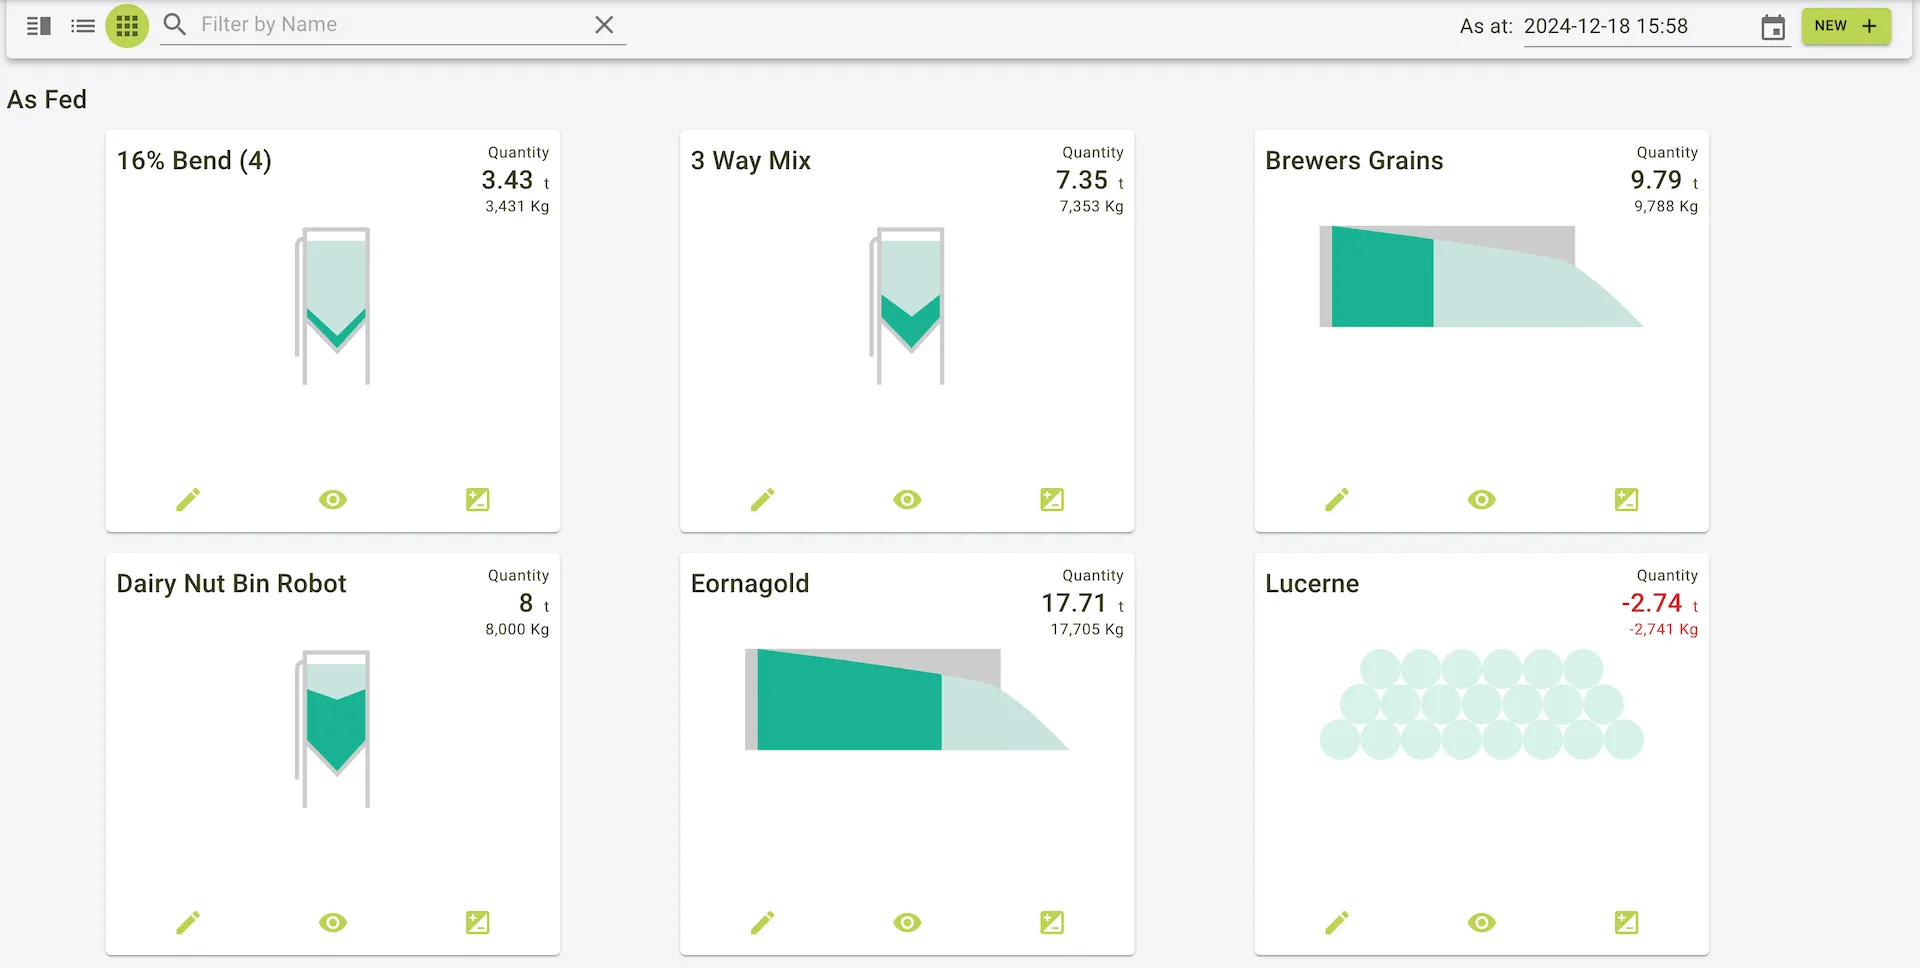
The Stocks / Silos page is where you can view and manage the stocks and silos. You can add, edit, and delete stocks and silos as needed. You can also view the stocks in a tile, list or menu view.
Features
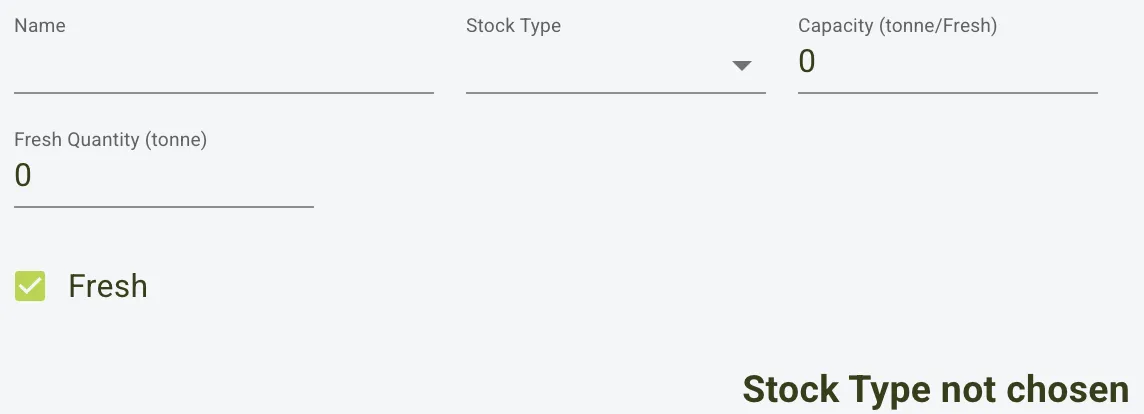
- Core information about the stock or silo can be edited here.
- Fields include:
- Name: Stock or silo name.
- Stock Type: Stock or silo type.
- Capacity (tonne/Fresh): Maximum storage capacity.
- Fresh Quantity (tonne): Fresh quantity of the stock or silo.
- Dry Quantity: Dry quantity of the stock or silo.
- Fresh: Checkbox to indicate if the stock or silo is fresh or dry.
- Stocks and silos can be added to the system.
- Stocks and silos can be deleted from the system.
- Stock and silo history can be viewed.
- Can be used to create a stock event related to the stock or silo.
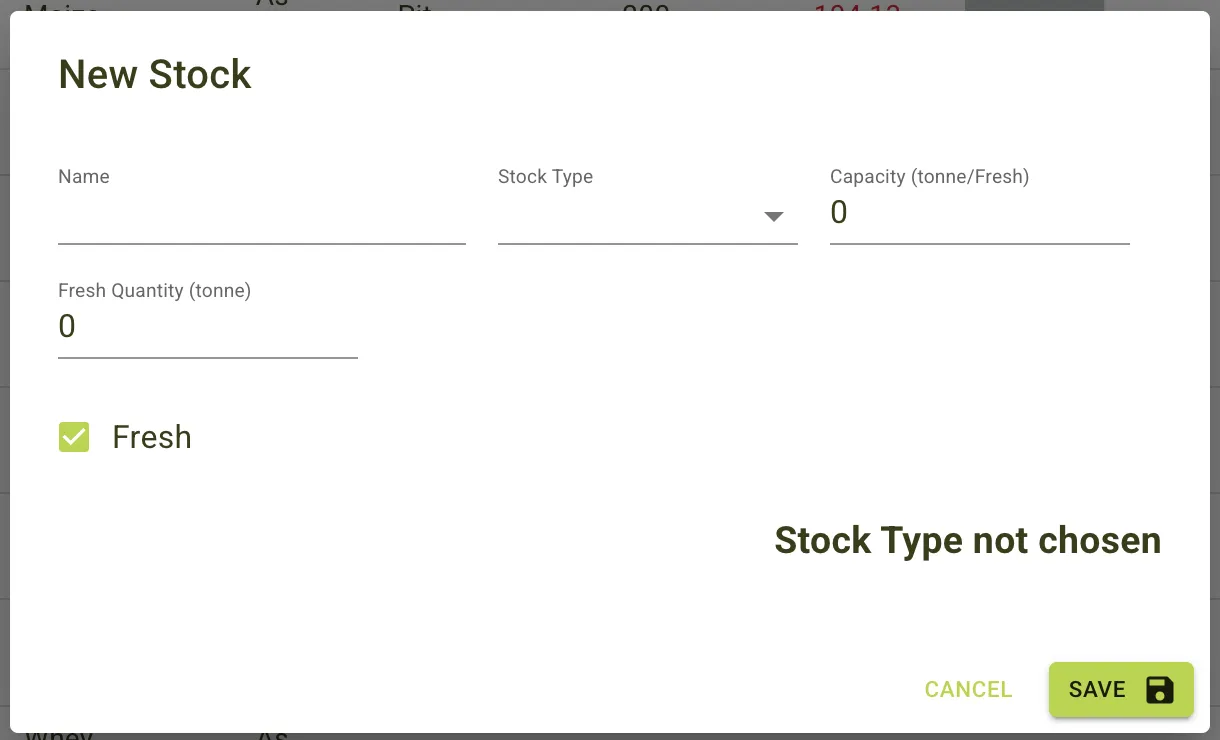
Example view of the stocks / silos page
Adding an stock
To add a stock:
- Click the
Newbutton on the toolbar. - Enter the stock details.
- Click the
Savebutton on the toolbar to save the stocks.
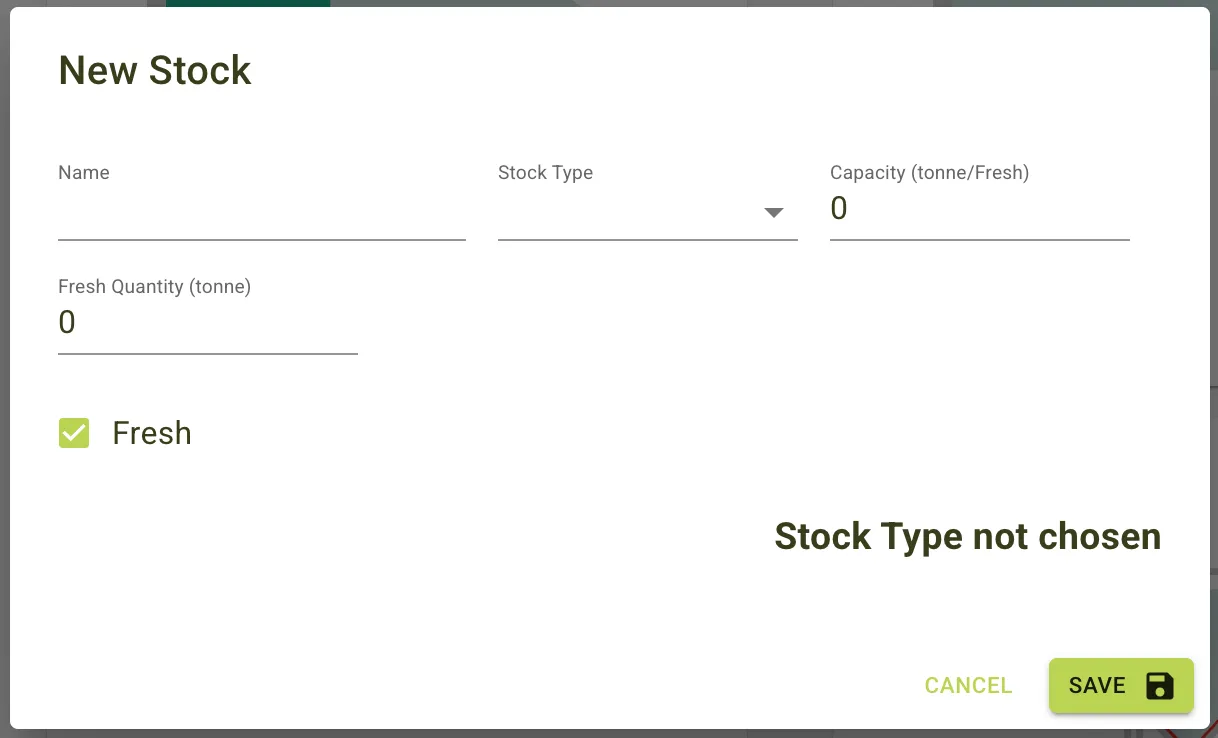
- Click the
Newbutton on the toolbar. - Enter the stock details in the pop up panel.
- Click the
Savebutton on the bottom of the panel to save the stock.
- Click the
Newbutton on the toolbar. - Enter the stock details in the pop up panel.
- Click the
Savebutton on the bottom of the panel to save the stock.
Example view of the new stock form
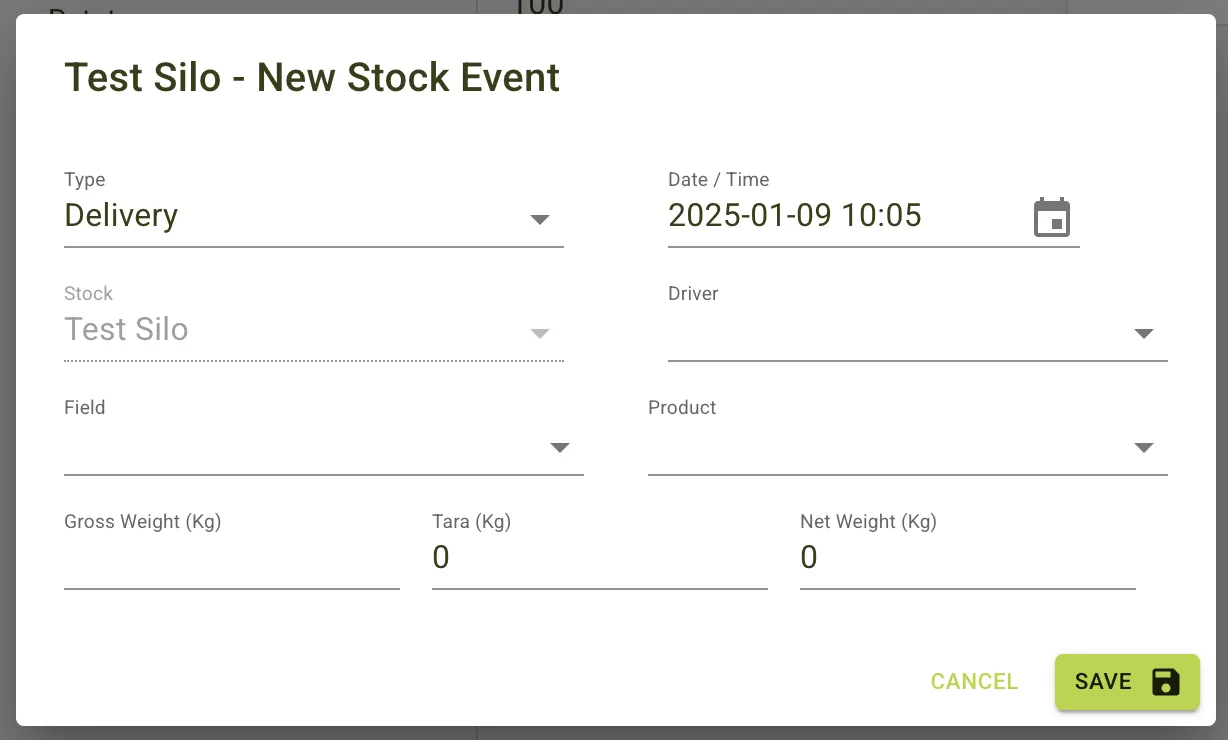
Registering a stock delivery
To register a stock delivery:
- Choose a
Stockfrom the sidebar list of stocks that have been added. - When selected the
Eventbutton in the toolbar should now be clickable, click this button. - The
New Stock Eventpop up panel should now be visable, chooseDeliveryfrom theTypedropdown selection. - We can now fill out the rest of the form and choose the
Driverfrom theDiverdropdown selection. - Click the
Savebutton on the bottom of the panel to save the stock event.
Example view of the new stock form
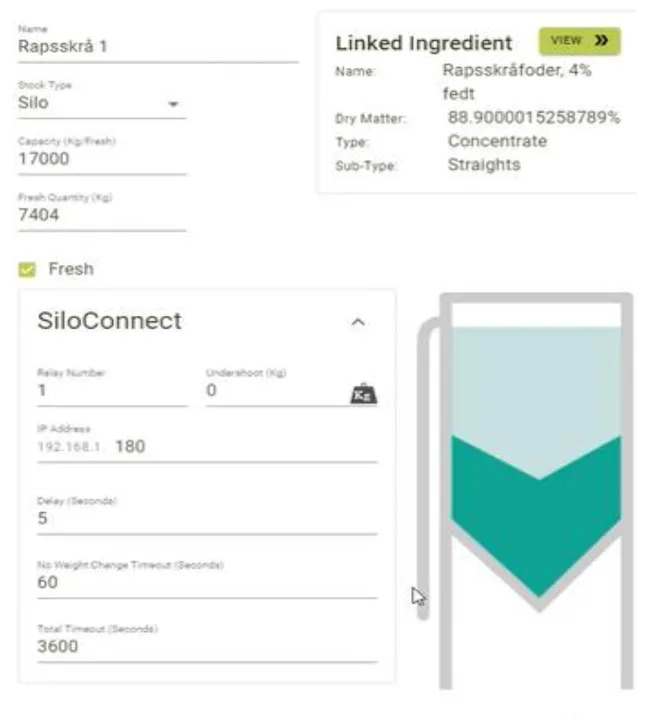
Setting up Silolync
Step 1: Create a new silo
-
Go to Stock Management and then Stocks/silos.
-
Create the desired silos, select type: silo. and press Silolync, this will show a number of settings that needs filled in.
-
Relay Number: The output on the PLC that the silo should be controlled by. NOTE: Relay #0 is reserved as a “System Active” relay
-
Undershoot: The number of kg/lbs where the system stops loading. This depends on auger speed, extra cross auger etc.
-
IP Adress: 180
-
Delay: The times in seconds before the next ingredient will start loading
-
No Weight Change Timeout: The time the system can run without the weight changing.
-
Total timeout: The total max time this silo is allowed to run per loading.
Step 2: Connect silos and ingredients
- On the top right corner, select the ingredient that is in the silo.
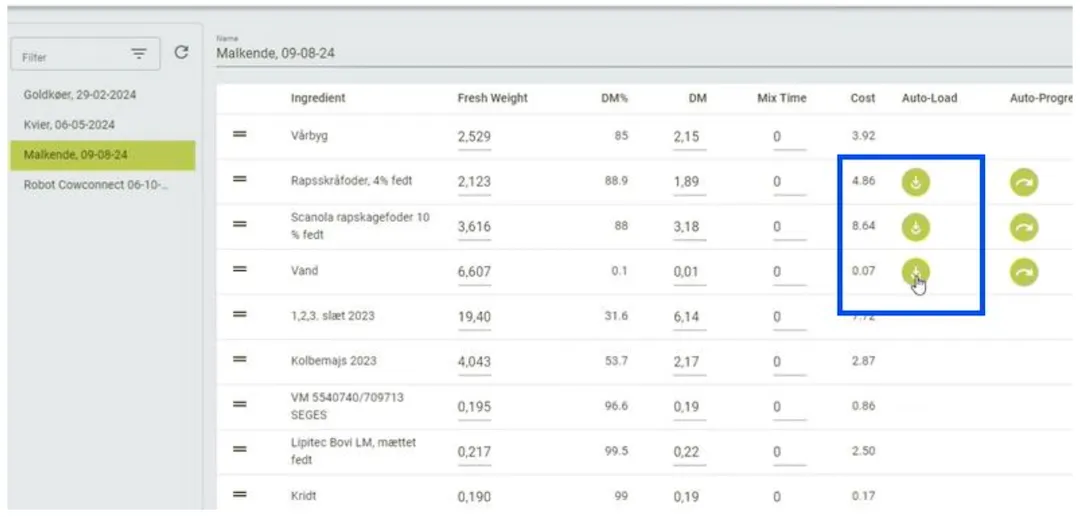
Step 3: Enable AutoLoad in a ration
- Finally the Autoload needs to be enabled on any ingredients where it is desired. If AutoProgress is enabled, the system will automatically skip to the next ingredient when done.